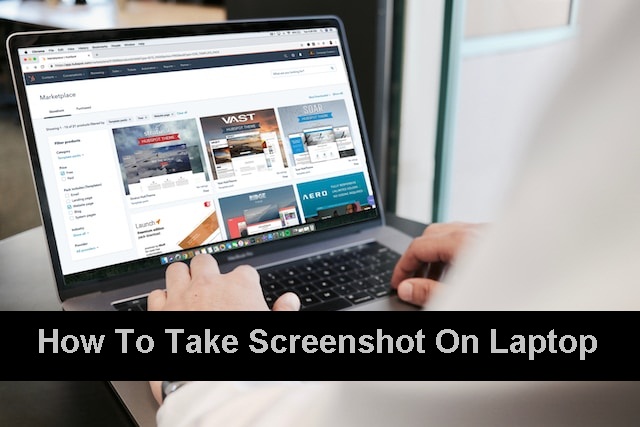
Screenshots are a valuable tool for capturing and sharing information on your laptop. Whether you want to save a moment from a video, document a software issue, or share an interesting web page, knowing how to take a screenshot on your laptop is a fundamental skill. In this comprehensive guide, we will explore various methods for capturing laptop screenshots, regardless of whether you’re using a Windows, macOS, or Linux operating system.
Why Take Screenshots?
Before diving into the methods of taking screenshots, it’s essential to understand why they are valuable:
- Documentation: Screenshots serve as visual documentation of what you see on your laptop screen. They are often used in tutorials, presentations, and troubleshooting guides.
- Communication: Screenshots can help you convey information more effectively. For example, when seeking tech support, sharing a screenshot of an error message can be more helpful than describing it in words.
- Memories: Screenshots are a quick and easy way to capture memorable moments, like funny social media posts, important emails, or beautiful web pages.
- Creativity: Artists and designers often use screenshots as a starting point for their digital creations.
Now, let’s explore how to take screenshots on different laptop operating systems.
How to Take a Screenshot on Windows
Windows offers several methods for taking screenshots. The most common ones are:
1: Print Screen (PrtScn):
- Press the “PrtScn” key on your keyboard.
- This captures the entire screen and copies it to your clipboard.
- To save the screenshot, open an image editor (e.g., Paint or Photoshop) and paste (Ctrl + V) the image. Then, save it as desired.
2: Alt + Print Screen:
- Press “Alt + PrtScn” to capture only the active window.
- Like the regular PrtScn method, you need to paste it into an image editor to save it.
-
3: Snipping Tool:
- Type “Snipping Tool” in the Windows search bar and open the app.
- Click “New” to select an area of the screen to capture.
- Edit and save the screenshot from within the Snipping Tool.
-
4: Snip & Sketch (Windows 10 and 11):
- Press “Windows + Shift + S” to open the Snip & Sketch tool.
- Select the area you want to capture, and the screenshot is copied to your clipboard.
- Open an image editor to paste and save it.
-
-
5: Windows + PrtScn (Windows 8 and later):
- Press “Windows + PrtScn” to capture the entire screen.
- The screenshot is automatically saved in the “Screenshots” folder inside the “Pictures” library.
-
-
How to Take a Screenshot on macOS
Mac users have a variety of screenshot options:
1: Command + Shift + 3:
- Press “Command + Shift + 3” to capture the entire screen.
- The screenshot is saved as a file on your desktop.
2: Command + Shift + 4:
- Press “Command + Shift + 4” to capture a selected screen area.
- Drag to select the area, and the screenshot is saved as a file on your desktop.
3: Command + Shift + 4, then Spacebar:
- Press “Command + Shift + 4” and then the Spacebar to capture a specific window.
- Click on the window you want to capture, and the screenshot is saved as a file on your desktop.
4: Command + Control + Shift + 3 or 4:
- These key combinations copy the screenshot to your clipboard instead of saving it as a file. You can then paste it into an image editor or document.
How to Take a Screenshot on Linux
Taking screenshots on Linux can vary depending on your desktop environment, but here are some common methods:
1: Print Screen (PrtScn):
- Press “PrtScn” to capture the entire screen.
- The screenshot may be automatically saved in your “Pictures” or “Screenshots” folder.
2: Alt + Print Screen:
- Press “Alt + PrtScn” to capture the active window.
- Like the PrtScn method, the screenshot may be saved automatically.
3: Shift + Print Screen (varies by desktop environment):
- In some Linux desktop environments (e.g., GNOME), “Shift + PrtScn” allows you to capture a selected screen area.
4: Use a Screenshot Tool (e.g., Shutter, Flameshot):
- Many Linux distributions offer screenshot tools with advanced features like annotations and delayed captures.
Conclusion
Capturing screenshots on your laptop is a fundamental skill that greatly enhances your productivity and communication abilities. Multiple methods are available to suit your needs, whether you’re using Windows, macOS, or Linux.
Remember that screenshots are useful for work and technical support, preserving memories, and fostering creativity. So, practice these methods and make the most of this handy feature on your laptop. With a little practice, you’ll capture and share screenshots like a pro.


+ There are no comments
Add yours